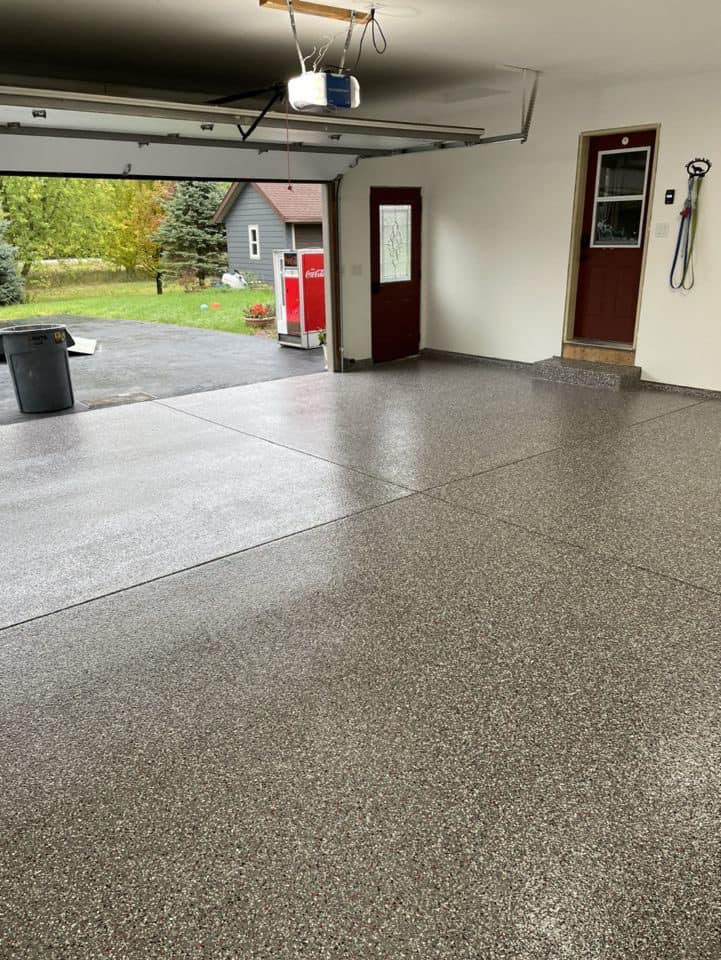
Professional Garage Floor Epoxy
10 Must-Haves for Your Professional Garage Floor Epoxy Project
This article is about how a garage floor epoxy project can protect and enhance your garage floor. You will need to prepare the surface and choose the right epoxy for your needs, but once you do the results can be impressive. Here are 10 must-haves for your professional garage floor epoxy project!
-
A solid foundation:
In order for your epoxy coating to adhere properly and achieve the desired results, you need to start with a clean and dry surface. If there are any cracks or holes in your concrete, now is the time to repair them. Once the repairs are made, give the entire floor a good cleaning with a pressure washer.
-
Proper surface preparation:
Epoxy coatings are not one size fits all, so it’s important to choose the right type of epoxy coating for your needs. If you have a lot of heavy traffic or oil and grease stains, you will need a product that is specifically designed for those purposes. Be sure to read the labels and follow the manufacturer’s instructions for surface preparation.
-
The right tools:
Epoxy coatings can be applied with a brush, roller, or airless paint sprayer. If you have a large area to cover, a paint sprayer will be the most efficient option. Otherwise, a roller or brush can work well.
-
Protective gear:
When working with epoxy, it’s important to wear gloves, a respirator, and eye protection. Epoxy fumes can be harmful, so it’s important to take the necessary precautions.
-
Mixing the epoxy:
Once you have all of your supplies, it’s time to mix the epoxy. Follow the manufacturer’s instructions for the correct ratio of epoxy to hardener. Mixing them together should take less than two minutes.

Professional garage floor epoxy
-
Applying the epoxy:
The next step is to apply the epoxy to the surface. Be sure to work in small sections so that the epoxy doesn’t start to dry before you have a chance to apply it. Use a brush, roller, or paint sprayer to apply the epoxy, and make sure that it is applied evenly.
-
Curing time:
Once the epoxy is applied, it will need to cure for 24-48 hours. During this time, the area should be kept clear of traffic and any spills should be cleaned up immediately.
-
Applying a topcoat:
After the epoxy has cured, you may want to apply a top coat for extra protection. This is not always necessary, but it can extend the life of your epoxy coating.
-
Maintaining your epoxy floor:
Once your epoxy floor is installed, it’s important to take care of it. Be sure to clean spills immediately and don’t allow dirt and debris to build up. You may also want to apply a fresh coat of epoxy every few years to keep your floor looking its best.
-
Hiring a professional:
If you’re not confident in your ability to install an epoxy floor, you may want to hire a professional. This is a big project, and it’s important to do it right the first time. A professional can also help you choose the best products for your needs and ensure that the job is done properly.
https://www.google.com/maps?cid=14898883243432043324
2386 Faith Caroline Blvd, Rock Hill, SC 29732, United States
+1 803-471-4171
https://topflightgaragefloors.com/
